All of this can be found at Makey Makey quickstart guide
MaKey Key-Making MaterialsTo make your “standard” key with the MaKey MaKey you need the following:
- A connection to a MaKey MaKey input. This can be done using alligator clips on the top side, or jumper wires on the bottom.
- Connection to a MaKey MaKey ground (Earth). Again, you’ll connect to earth using either alligator clips or jumper wires.
- Some sort of key material. This is the fun/creative part! There’s a world of MaKey MaKey keys out there. Anything that’s even slightly conductive is just waiting to become a computer input. The classics, of course, are your fingers, bananas, and pencil scratchings.
- Something to activate the key, by connecting between the key material and the ground input. Your fingers work pretty well for this. Anything even slightly conductive will do though.
Making a Key
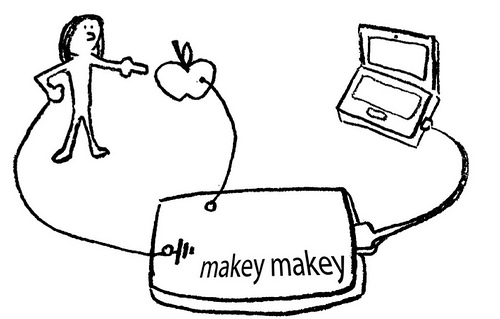
Activating a key means creating a closed circuit. For the circuit to work, electrons have to be able to flow from the MaKey MaKey input key to MaKey MaKey’s ground. Usually your fingers will be the missing link between those two:
Let’s try making a bona fide MaKey MaKey key. First, you’ll need to find some sort of key object. Dig around your house, check your fruit basket, your coin purse, or grab a pencil and make a drawing.
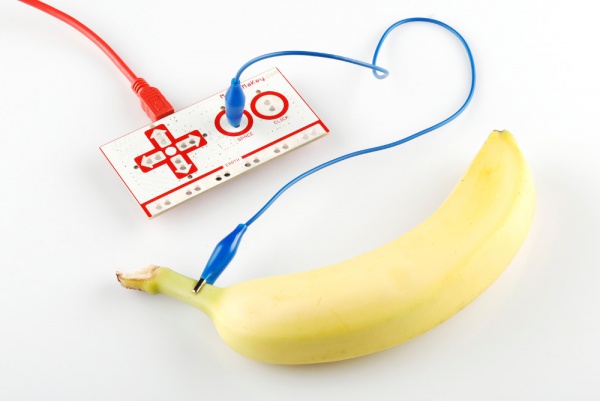
Pick out your favorite-colored alligator clip cable, open one of the jaws, and snap it down onto your key. And clip the other end of the clip into one of the MaKey MaKey top-side inputs. SPACE is great for testing purposes:
Pick out your favorite-colored alligator clip cable, open one of the jaws, and snap it down onto your key. And clip the other end of the clip into one of the MaKey MaKey top-side inputs. SPACE is great for testing purposes:
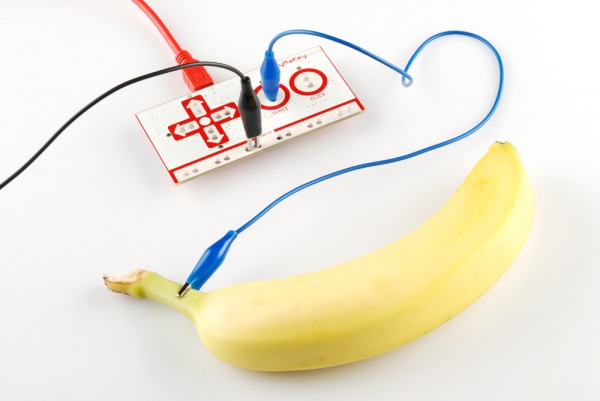
Now, grab a second cable for the ground connection. Black is the classic “ground color”, but set your own trend and pick whatever you want. Clip one end of one cable into the Earth bar, and let the other end dangle for now.
Open up some sort of text editor (Notepad, Word, TextEdit, etc.) on your computer. Remember that, just as with your boring ol' keyboard, your computer will interpret keypresses differently depending on what program is active.
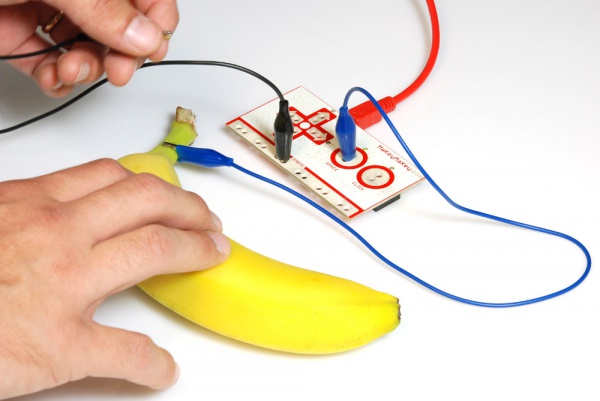
Finally! Grab the dangling end of the ground cable with one hand. Make sure you’re touching the metal part of the clip. Then use your other hand to touch the banana, or whatever your key might be. BAM! Space!
Finally! Grab the dangling end of the ground cable with one hand. Make sure you’re touching the metal part of the clip. Then use your other hand to touch the banana, or whatever your key might be. BAM! Space!
Adding More Keys, Using the Back
To add more keys, simply connect another alligator clip to another MaKey MaKey input (e.g. arrow keys or mouse click), and connect the other end to a key material. No further ground connections are necessary.
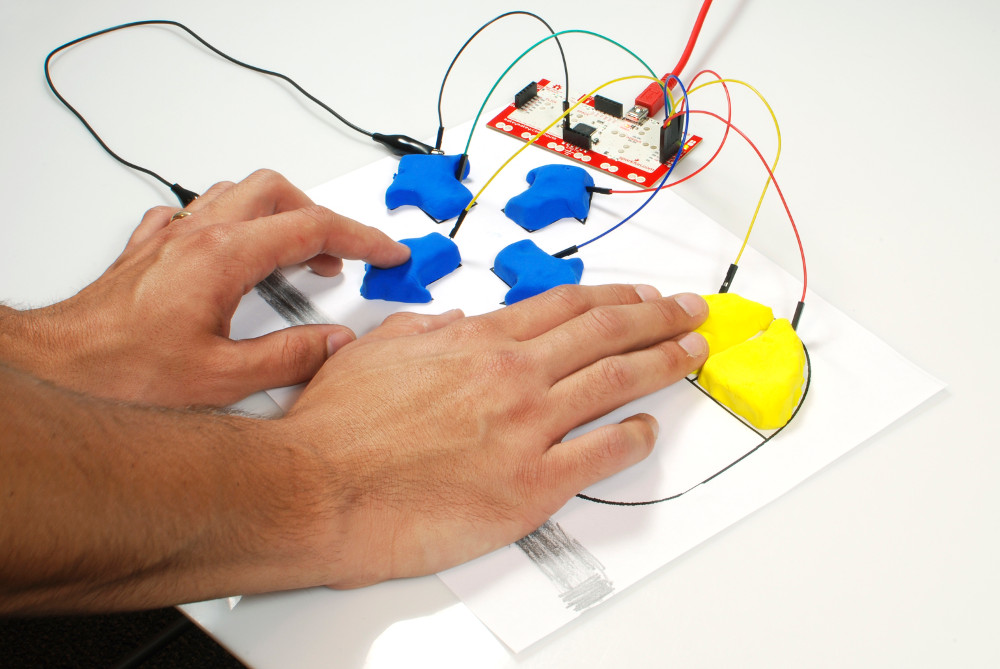
Want to make use of the back side of the board? You can follow a similar set of steps, replacing alligator cables withjumper wires. Jumper wires are a bit tougher to connect to keys. An easy solution is to connect an alligator cable to the free end of the jumper.
Play-doh, or other materials which enable you to jab the jumper wire in also work great! How about a Play-doh Mouse: